How to Build a Production Schedule for Plate Sales
Turn paid orders into a realistic prep, cooking, packing, and pickup timeline that fits your kitchen equipment, food-safety checks, and team.
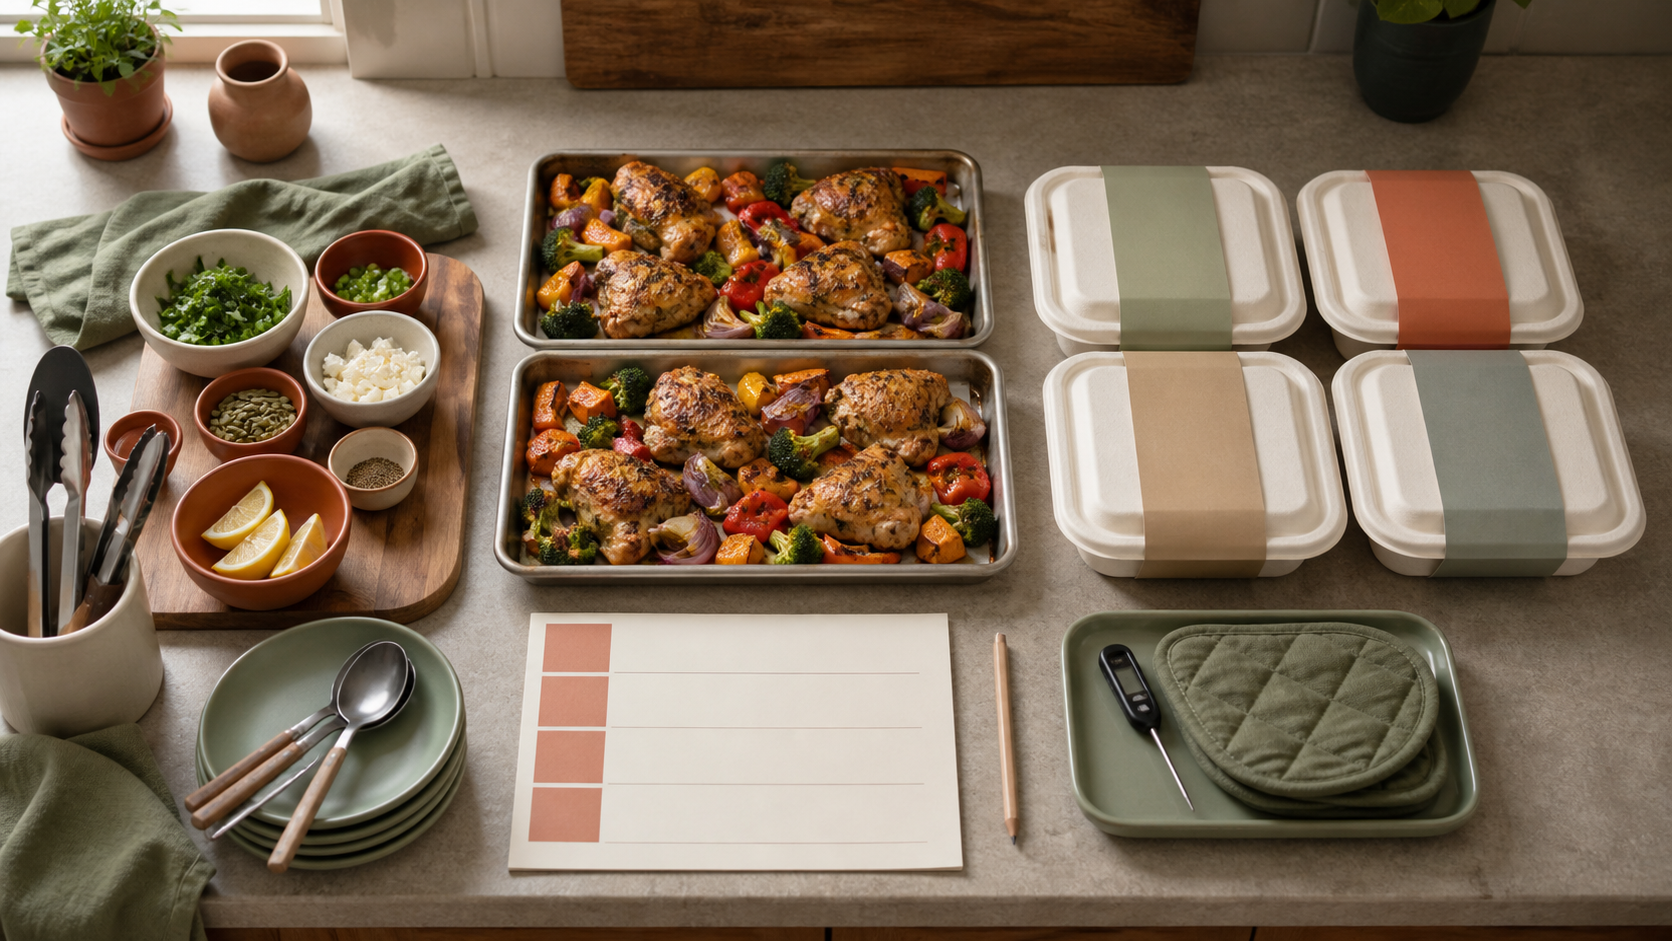
Twenty-four paid orders can still turn into a late service if every dish needs the oven at the same time, the containers are not staged, or nobody knows when to start the final batch. A list of recipes tells you how to make the food. A production schedule tells you how the whole menu will move through one kitchen.
This guide will help you turn your order count into a timed prep, cooking, checking, packing, and handoff plan. You will work backward from pickup, find capacity conflicts before sale day, give each task an owner, and record what actually happened so the next schedule becomes more accurate.
The schedule does not replace your permit, food-safety plan, or regulator’s requirements. Verify current local requirements for the foods and processes your operation may use, then place the required cooking, cooling, holding, sanitation, labeling, and record checks directly into the timeline.
Lock the orders and recipes before scheduling
Start with the order list after the published cutoff, not the number of likes or messages the menu received. Count each main, side, add-on, allergy-related order, pickup slot, and delivery route. Mark payment status and resolve unclear orders before turning the count into food quantities.
Next, connect each item to an approved recipe version and tested yield. If one chicken recipe reliably makes 12 portions and you have 22 paid chicken orders, the plan needs two defined batches and a decision about the two extra portions. The method for standardizing recipes and finished yields provides the numbers a production schedule depends on.
Create a production header with:
- Sale date and first handoff time
- Order cutoff and final paid count
- Menu items, recipe versions, and portion sizes
- Planned batches and portions per batch
- Pickup slots and order count in each slot
- Named cook, packer, driver, or checker for every role
Do not schedule from an untested multiplied recipe. A precise timeline built on an unreliable yield will still run short.
Work backward from the first handoff
Put the first customer handoff at the right side of the page. Then move left through the tasks that must happen before it: bag staged, container closed and identified, portion packed, batch checked, food cooked, ingredients prepared, equipment preheated, and workstation sanitized.
Estimate each task from a real trial or past sale record. Include active work and waiting time. “Bake for 35 minutes” is incomplete if the oven also needs 15 minutes to preheat, loading takes 5 minutes, the batch rests before portioning, and another pan is blocking the oven.
The Institute of Child Nutrition shows that a production task schedule can be a simple daily list of specific responsibilities. Its foodservice examples assign people to preparation, timed cooking, temperature records, service, and cleanup. Your one- or two-person operation can use the same logic without copying a school-meal form.
Write every line as an action with four fields:
| Start | Task | Owner | Finish or checkpoint |
|---|---|---|---|
| 1:30 p.m. | Preheat oven; verify station setup | Alex | Oven ready by 1:45 |
| 1:45 p.m. | Cook chicken batch A | Alex | Required check before release |
| 2:20 p.m. | Portion cold sides for slot one | Sam | Covered and returned to cold holding |
Those times are examples, not a safe process for a particular menu. Use your tested recipe, equipment, and local requirements.
Map the kitchen’s real capacity
A schedule can look spacious on paper while asking one oven rack, sink, scale, counter, or person to do three jobs at once. Make a quick capacity map before accepting the timeline.
List the resources each task occupies:
- Oven racks, burners, fryer, mixer, or rice cooker
- Refrigerator, freezer, cooling, and hot-holding space
- Sink and sanitation setup
- Clean prep counter and packing area
- Scales, thermometers, scoops, pans, and carriers
- The person whose hands and attention the task requires
University of Minnesota Extension advises quantity-food planners to think through every preparation step and verify the equipment and space it needs. The FDA’s broader food-process planning guidance also asks whether equipment is properly sized for the volume and can provide the necessary time-and-temperature control.
Circle every overlap. If rice needs the same burner as sauce, move one task, use a tested smaller batch, change equipment, or reduce the menu. If the refrigerator cannot hold the planned cold sides and incoming ingredients safely, the order cap is too high. A schedule cannot create physical capacity.
Stage the work before the clock gets tight
Use the quietest safe part of the day for permitted advance work. Review the recipes, gather verified ingredients, count containers and labels, prepare clean tools, set up the correct portion utensils, and place carriers where they will be loaded.
The Institute of Child Nutrition’s mise en place guidance describes organizing ingredients and equipment before preparation as a way to improve efficiency, reduce errors, and serve on time. For a plate seller, staging should include order tickets, packaging, thermometers, sanitizing supplies, and the correct ingredient versions—not just chopped vegetables.
Keep a stop list beside the setup. Pause before cooking if a supplier substitution has not been checked, an allergy ticket is unclear, a thermometer has failed its check, packaging is short, or a required ingredient is missing. Fixing those problems at the start is cheaper than improvising over finished food.
Only prepare ingredients in advance when that timing, storage, and process are allowed. Label and protect staged food as required; mise en place is organization, not permission to leave temperature-controlled ingredients on the counter.
Sequence for safety as well as speed
Draw the product path through receiving, storage, preparation, cooking, holding, packing, and handoff. Then compare that path with the room. FDA guidance recommends a simple process-flow diagram and notes that linear movement can help minimize cross-contamination from raw to cooked materials.
Build the schedule so raw work does not cross back through ready-to-eat preparation or packing. Include the cleaning and sanitizing reset between incompatible tasks. Protect an accepted allergy-related order with the ingredient, equipment, prep, and packing controls in the food-allergy order workflow.
Add the required checks at the moment a decision can still be made:
- Equipment and thermometer readiness before production
- Batch cooking check before food leaves the cooking step
- Cooling checkpoints when an approved advance-cooling process is used
- Holding checks before and during the pickup window
- Label and order verification before each bag is sealed
- A written action for a failed check, delay, spill, shortage, or equipment problem
Do not put every check at the bottom of the sheet. A temperature recorded after all orders are packed cannot guide the earlier batches.
Release food in batches that match pickup
Cooking everything at once may feel efficient, but it can create a long hold and weaker food quality. For items that do not hold well, tie smaller batches to capped pickup slots.
Institute of Child Nutrition training defines batch cooking as preparing smaller amounts as needed through service. Its guidance says this can protect quality and reduce waste when the full projected amount is not needed. Apply that idea only when each batch can meet your operation’s required safety controls.
Suppose 24 orders are divided among three pickup slots of eight. Instead of packing all 24 before the first arrival, the schedule might release batch A for the first slot, batch B shortly afterward, and batch C only after the second group is underway. The exact gap comes from your cook time, capacity, required checks, packing pace, and tested holding performance.
Use the hot-holding and pickup workflow to set the handoff controls. If the kitchen cannot cook, check, portion, and pack a new batch without missing the next window, reduce the number of slots or orders rather than squeezing the task durations on paper.
Run a 24-order schedule test
Before taking 24 paid orders, rehearse the plan with a smaller representative batch or a timed dry run. A sample backward plan might look like this:
| Relative time | Production event |
|---|---|
| 3 hours before handoff | Verify order count, labels, ingredients, equipment, and stations |
| 2 hours before | Complete permitted cold prep; reset and sanitize the raw-work area |
| 75 minutes before | Start first hot batch and required monitoring |
| 35 minutes before | Release batch, portion slot-one orders, and begin active holding |
| 20 minutes before | Cook or finish the next batch; stage bags by customer window |
| At handoff | Verify order, record handoff, and keep later orders under control |
Replace every relative time with a clock time after the rehearsal. Record where the plan failed: the oven came up slowly, one side took longer to portion, the packer waited for labels, or customers arrived early. Add a realistic buffer around that specific constraint instead of adding an unexplained hour to the whole day.
Close the record after the last order
The schedule becomes valuable when planned and actual results sit together. ICN’s production-record guidance connects planned servings and quantities with what was actually prepared, served, and left over so future forecasts can improve.
After service, record:
- Actual start and finish for the tasks that controlled the day
- Portions prepared, handed off, left, remade, or discarded
- Ingredient or packaging substitutions
- Failed checks and the corrective action taken
- Equipment bottlenecks and idle time
- Late arrivals, leaks, order errors, and quality complaints
- One change for the next comparable menu
Pair that review with the food-waste log and production-cap method. If batch C always finishes too early, release it later. If packing controls the whole timeline, simplify the menu, stage more containers, or lower the slot capacity.
Start with your next first pickup time. Work backward one task at a time, assign every line to a person and resource, and circle the conflicts. The best production schedule is not the fullest one; it is the one your real kitchen can complete safely, calmly, and repeatedly.
Ready to move?
Turn the research phase into your first sale.
The guide brings pricing, menu planning, marketing, and setup into one clear playbook.
Get the guide on Gumroad