How to Calculate Food Quantities for a Plate Sale
Turn paid orders and tested recipe yields into a practical shopping list with purchase units, trim-loss checks, batch limits, and sale-day records.
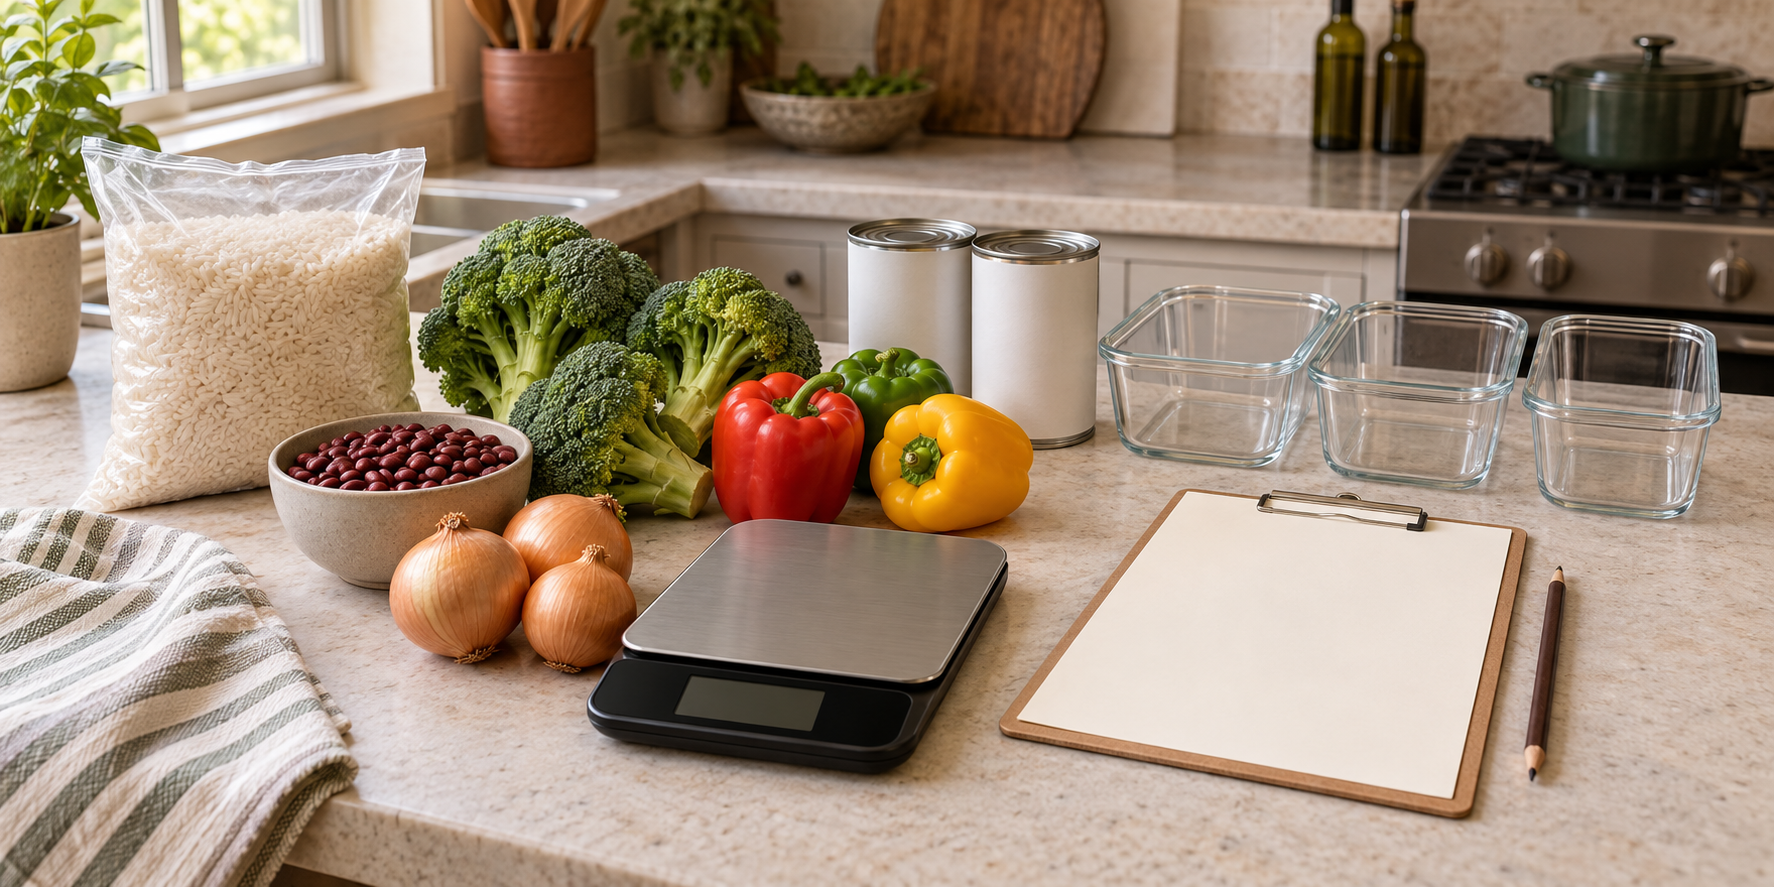
Buying for a plate sale can feel like a choice between running short and filling the refrigerator with leftovers. A guest-count chart will not solve that problem when your order is a specific chicken plate with two sides, a sauce cup, and a container. You need a calculation built from the portions you actually sold and the recipe your kitchen has actually tested.
This workflow turns a closed order list into one purchasing sheet. It separates the amount used in the recipe from the amount bought at the store, accounts for the exact product form, and creates a record you can improve after the sale.
Before purchasing for sale, verify current local requirements for your product, kitchen, and process. The FDA notes that a home-based food business may face different federal, state, and local requirements, so a quantity calculation is not permission to produce or sell a particular meal.
Start with sellable portions, not a head count
Count the units customers ordered, not the number of names on the list. One customer may buy three plates; another may buy one family tray and two add-ons. Convert the final paid-order list into the units your recipes produce:
- 24 standard plates
- 6 extra side cups
- 4 add-on sauce cups
- 24 complete packaging sets
Resolve unpaid, duplicate, or changed orders before doing the ingredient math. The preorder-system workflow explains how to reach one reconciled order count. If you still have three different totals across messages, a payment app, and a spreadsheet, the shopping calculation is not ready.
USDA’s Food Buying Guide starts its quantity process with the number of servings, planned serving size, purchase form, and purchase unit. It was created for Child Nutrition Programs, not home food businesses, but that sequence is useful planning logic: define the finished unit before converting it into groceries.
Lock the portion and tested recipe yield
Write the planned portion for every plate component. “Rice” is not specific enough; “one level 6-ounce-by-weight cooked portion” or “one tested scoop” gives you something you can reproduce. Then connect that portion to a recipe with a measured finished yield.
A recipe card might say:
One tested batch yields eight plates, each with one defined broccoli portion, one defined rice portion, and one defined bean portion.
That yield must come from a real kitchen test, not from dividing raw ingredient weight by a desired portion. The University of Minnesota Extension notes that a quantity recipe states both yield and serving size. Oklahoma State University Extension also warns that scaled food processes can change mixing, heating, and product behavior. If one batch works, test the larger batch before assuming four times the ingredients will behave exactly the same.
If the recipe still changes from sale to sale, finish the recipe-standardization process first. Purchasing precision cannot repair an unmeasured yield.
Convert sold portions into recipe batches
Divide the required portions by the tested yield per batch:
required portions ÷ portions per batch = batches needed
For 24 sold plates and an eight-portion tested batch:
24 ÷ 8 = 3 batches
Multiply every recipe ingredient by three. Keep the recipe unit intact while you calculate. If the batch card lists rice by weight, scale it by weight; do not switch to cups halfway through. Standard units make the worksheet easier to check and reduce the variation caused by “handfuls,” heaped cups, or different package sizes.
Handle add-ons separately. Six side cups are not necessarily six full plate portions. Use the tested side-cup amount, convert those six cups into the recipe unit, and add that quantity to the main production need. This prevents extras from quietly consuming ingredients that were assigned to paid plates.
Convert recipe quantity into purchase quantity
The recipe tells you what enters the batch. The shopping list must tell you what leaves the store. Those quantities are identical only when the product is bought in the same usable form called for by the recipe.
Use a line for each ingredient with these fields:
| Ingredient | Recipe need | Purchase form | Yield evidence | Calculated purchase amount | Actual pack to buy |
|---|---|---|---|---|---|
| Broccoli | 6 lb ready-to-cook | Whole, untrimmed | Your test or a relevant yield table | 7.5 lb | Store-weighed amount |
| Rice | 72 oz dry | 5 lb sealed bag | Package net weight | 72 oz | One 5 lb bag |
| Beans | 9 cans | 15 oz cans | Tested brand and drained yield | 9 cans | Nine cans |
The figures above are a hypothetical worksheet, not a standard recipe. In its published examples, the USDA guide distinguishes “as purchased” food from edible or ready-to-cook yield and explains that yield data can convert a required serving amount into purchase units. Use the listing that matches both the product you will buy and the form you will serve. Fresh whole broccoli, frozen florets, and ready-to-cook florets are not interchangeable rows.
For a product you buy repeatedly, compare the guide with your own results. Record the unopened weight, the usable amount after normal trimming, and the supplier or product description. Do not borrow another seller’s trim percentage without testing whether the size, condition, and preparation match yours.
Round to real packs without hiding a buffer
Your exact calculation may produce 4.5 pounds of rice when the store sells a 5-pound bag. Round to the package you can actually buy, then show the difference on the worksheet. That remaining half-pound is inventory, not a free ingredient and not automatically another plate.
Avoid adding a vague percentage “just in case” to every item. It can inflate cost, crowd cold storage, and recreate the waste the calculation was meant to prevent. If you choose one replacement portion for a dropped container or a documented service risk, name it explicitly:
- customer portions: 24
- replacement portions: 1
- total planned portions: 25
- reason: one complete replacement order held until the last pickup
That is a business choice, not a universal allowance. Check whether the extra is permitted, affordable, safely held, and likely to be used. Record what happened to it after service.
Work through one 24-order example
Suppose a tested vegetable, rice, and bean plate yields eight portions per batch. The closed order list contains 24 paid plates and no add-on sides.
- Batches: 24 portions divided by 8 portions per batch equals 3 batches.
- Broccoli: the recipe needs 2 pounds ready-to-cook per batch, so production needs 6 pounds. A documented supplier-specific test yielded 0.8 pound ready-to-cook from 1 pound whole. Six divided by 0.8 equals 7.5 pounds whole to purchase.
- Rice: the recipe needs 24 ounces dry per batch. Three batches need 72 ounces. A 5-pound bag contains 80 ounces, so one bag covers the calculation and leaves 8 ounces as recorded inventory.
- Beans: the tested recipe uses three cans per batch. Three batches require nine cans of the same size and product.
- Packaging: 24 plates require 24 tested bases and lids, plus any separately sold sauce or cutlery units shown on the order list.
Keep all five lines visible. If the broccoli is unavailable in the tested form, do not silently substitute frozen florets and preserve the same number. Recalculate from the new product’s yield, price, recipe behavior, and permitted ingredient record.
Check capacity before placing the order
A correct shopping list can still exceed the kitchen. Before checkout, compare the calculated ingredients and batches with refrigerator space, dry storage, pot and pan capacity, cooking time, cooling or holding equipment, and the pickup schedule. The USDA describes purchasing as a process from menu planning through meal service, not an isolated trip to the store.
If three batches fit but one giant batch does not, keep the tested batch size and place it in the production schedule. Do not buy for 40 orders merely because a case price looks cheaper when the kitchen, order cap, or safe storage can support only 24.
Turn the sale into better yield data
After pickup, add actuals beside the plan:
- portions planned, prepared, packed, sold, replaced, left, or discarded;
- actual quantity opened or used for each high-cost ingredient;
- remaining unopened and opened inventory;
- substitutions or supplier changes;
- a short reason for any shortage or excess.
The Institute of Child Nutrition’s production-record example connects projected servings and purchase units with actual food prepared, served, substituted, and left over. A plate seller can use the same feedback idea without copying the school-meal form.
Review the record alongside your food-waste log. Change the recipe yield only when repeated measured results justify it. A one-time shortage caused by a spilled pan is not proof that every future order needs a larger grocery buffer.
For the next sale, start with one menu, one closed order count, and one tested recipe sheet. Convert portions to batches, batches to ingredient needs, and ingredient needs to exact purchase forms. That short chain is more useful than a generic servings chart—and it gives you numbers you can improve every week. The full Selling Plates guide can help you connect this purchasing routine to the rest of your launch and sale-day system.
Ready to move?
Turn the research phase into your first sale.
The guide brings pricing, menu planning, marketing, and setup into one clear playbook.
Get the guide on Gumroad